But while working on my "classic" squares I found I made a few changes to the classic granny tutorials that are out there. So instead of making a complete "DIY granny square tutorial" I want to keep notes on what I did, what alterations I made to make my squares look more even and maybe you will find some of the hints useful too ^__^
 _______
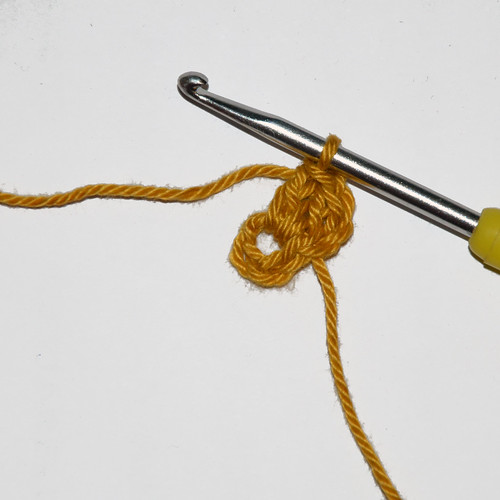
1 - start by chaining 4 and closing them to a ring
_______
1 - start by chaining 4 and closing them to a ring
 2 - start the first dc-cluster by chaining 2 and follow with 2 dc
__
note: in most tutorials I found people make three chain stitches to mimic a dc, but I always find that's too much and makes the chain stand out and look a bit wonky, so I only chain 2
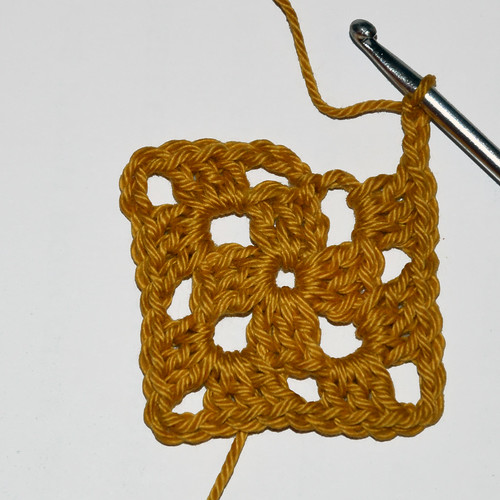
 3 - now chain 3, as now there's a corner, then do 3 dc, repeat this 3 more times
__
note: now whether to make 3 or just 1 chain stitch in a corner really seems to vary amongst fellow crocheters. I liked the 3-ch-spaces for corners and the 1-ch-spaces inbetween dc-clusters along the sides of a square
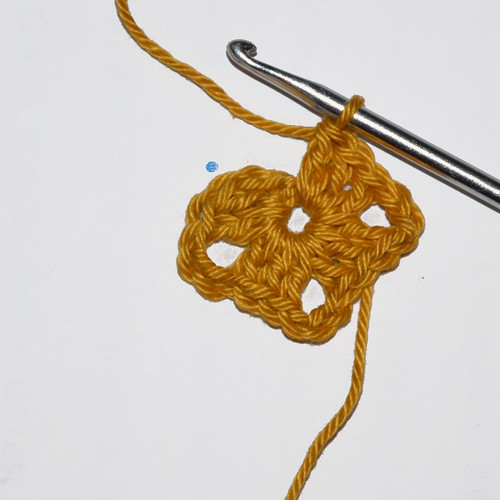 4 - to finish off the first round, chain 3 and close round with a slst into the top of the 1st dc you made in this round
__
note: I've marked the spot to slst in picture 3 above with a blue dot
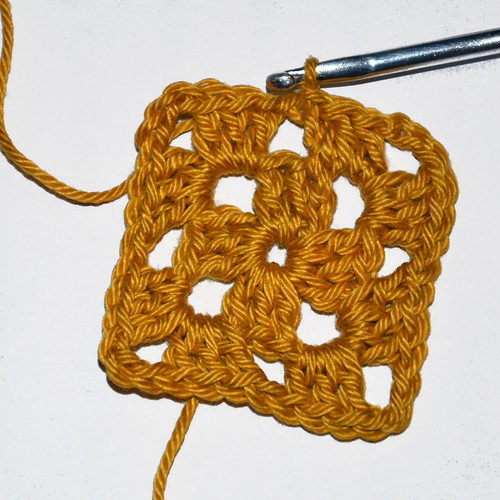
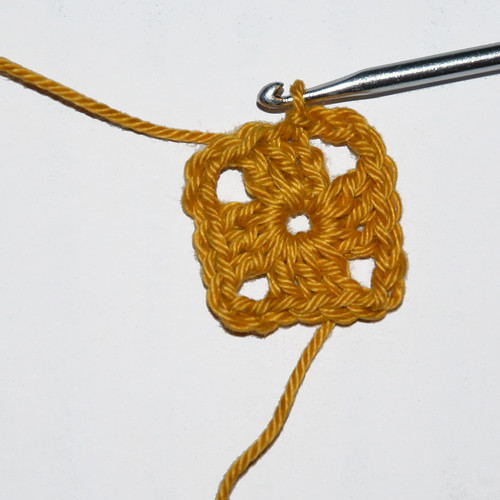 5 - chain 3 and work 3 dc into the next space
__
note: the beginning chain3 equals a chain2 to mimic the last dc in this round plus a chain1 to space between dc-clusters
 6 - now always chain3 between two dc-clusters in each corner and chain1 between two dc-clusters along the sides of a square
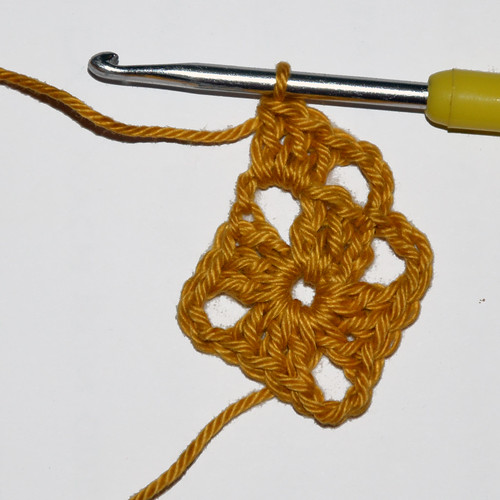
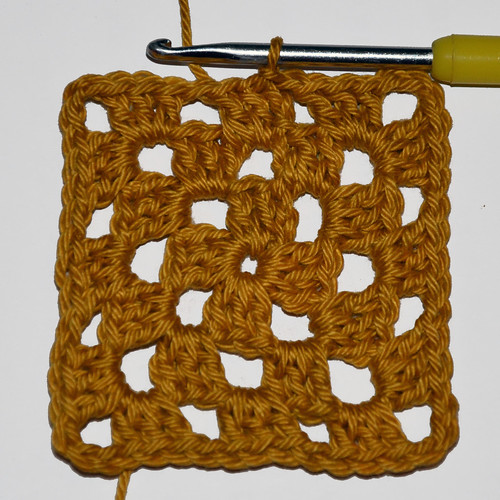
 7 - to finish a round that started with a chain3, make 1 normal dc and 1 "fat" dc
__
note: fat-dc: I always found my dc+chain-clusters to be a bit wonky, a little off compared to the other dc-clusters. Therefore I "fattened" the dc between the bordering dc and the chain stitch that mimics a dc. To "fatten" a dc I started a classic dc and pulled the yarn through a second time at the base of the slst of the row below to pull up a fourth loop. To finish this "fat-dc" yo and pull through first three loops on your hook, yo again and pull through remaining two loops (basically treat the two base loops as one and pretend to work a normal dc. You can see the two base loops in the picture below.
 to finish this round close with a slst into 3rd chain from base
 8 - now let's make a round that starts with a cluster right away: chain 2, make 2 dc
__
note: again fatten one dc here to make this cluster look more like all the others. I like to fatten the second dc of the two dc I work here.
 9 - continue this round like before: chain3 between dc-clusters in corners, chain1 between dc-clusters at sides and make 3 dc to form a dc-cluster
__
to finish a round that started with a cluster right away just chain1 and slst into the top of the next dc / equals the 3rd chain (remember the blue dot on pic 3)
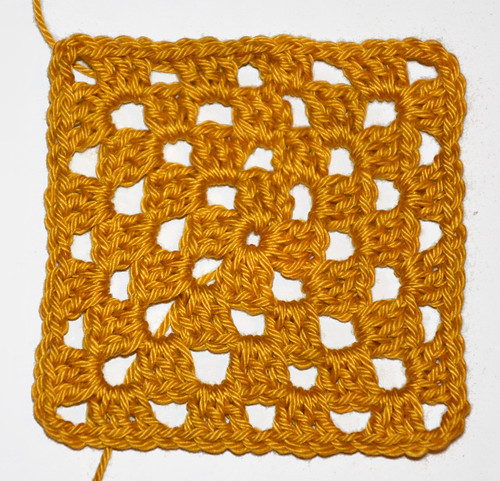
 10 - repeat the last two rounds as often as required to make a square of your desired size - either start with a chain3 plus a dc-cluster in the next space OR a (chain 2, dc, fat-dc)-cluster
H, Diana! Your notes are really helpful, even I alter my grannies so that to make them straighter or tighter. I love your neat crocheting!
AntwortenLöschenHave a nice day!
Hugs,
Anna.