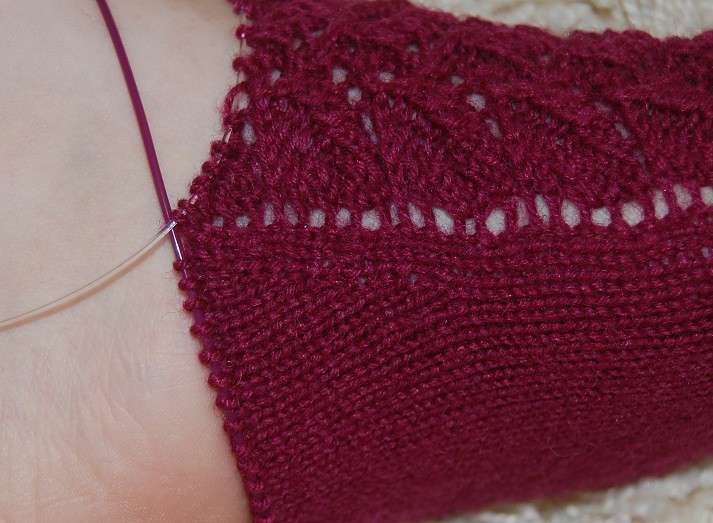
so it's time for the heels :)
I left you about 2 inches before you would start your normal heels. I love short row heels and knit something which is called jo-jo heel. On the lana grossa homepage there is a great explanation for it (pdf in german AND english). Meanwhile I tweaked it a bit and added some increases before I start the heel, because as it is in the pdf it was always too tight and too short for my feet - the main technique though is absolutely cool, I never had any holes. Before I continue if you like heel flaps better make one :) there is no reason why you can't exchange any heel with another.
the heel:
I find the jo-jo heel works best when you have enough stitches to work it from and I think if my feet get bigger from toe to heel why not increase the sock as well? so I start increasing about 2 inches before I would start the heel. In this sock I increased 2 stitches on the sole every 3rd row like this *k1, m1, k until 2 sts before end, m1, k1*. Slowly the 25 sts of the sole will turn into 37 - see below

now I start to work the jo-jo heel as described in the pdf above, only I divide my stitches like this 13-11-13 and not 10-10-10 as in the pdf. After I made the heel my sock looked like this:

and because I would have much too many stitches to continue the lace pattern AND because my feet narrow after the heel AND the heel as it is right now would be too short and my shoes would rub the lace I work a few more rows of stockinette PLUS I decrease some stitches again. I decreased the 37 stitches to 27 like this *k1, k2tog, k until 3 sts before end, ssk, k1* every 3rd row and my heel now looks like this:

In case you wonder, I added an eye of patridge pattern to the back of my heels to make them more durable. ([1] *sl1, k1*, sl1 -- [3] *k1, sl1*, k1 -- k all even rows)
I left you about 2 inches before you would start your normal heels. I love short row heels and knit something which is called jo-jo heel. On the lana grossa homepage there is a great explanation for it (pdf in german AND english). Meanwhile I tweaked it a bit and added some increases before I start the heel, because as it is in the pdf it was always too tight and too short for my feet - the main technique though is absolutely cool, I never had any holes. Before I continue if you like heel flaps better make one :) there is no reason why you can't exchange any heel with another.
the heel:
I find the jo-jo heel works best when you have enough stitches to work it from and I think if my feet get bigger from toe to heel why not increase the sock as well? so I start increasing about 2 inches before I would start the heel. In this sock I increased 2 stitches on the sole every 3rd row like this *k1, m1, k until 2 sts before end, m1, k1*. Slowly the 25 sts of the sole will turn into 37 - see below

now I start to work the jo-jo heel as described in the pdf above, only I divide my stitches like this 13-11-13 and not 10-10-10 as in the pdf. After I made the heel my sock looked like this:

and because I would have much too many stitches to continue the lace pattern AND because my feet narrow after the heel AND the heel as it is right now would be too short and my shoes would rub the lace I work a few more rows of stockinette PLUS I decrease some stitches again. I decreased the 37 stitches to 27 like this *k1, k2tog, k until 3 sts before end, ssk, k1* every 3rd row and my heel now looks like this:

In case you wonder, I added an eye of patridge pattern to the back of my heels to make them more durable. ([1] *sl1, k1*, sl1 -- [3] *k1, sl1*, k1 -- k all even rows)
amazing... I wish I could do that! I would make so many lol! great job!
AntwortenLöschen